Amend Register
This article shows you how to manually amend student attendance on an event register in Jisc learning analytics.
There are three common changes that you might need to make to an event register: 1) change student's attendance status, 2) add student(s) to a register, and 3) change multiple student's attendance status to Not Required.
To amend a register, you first need to find the correct register. Go to Events. Click on the Event name for the register you want to amend.
1) Change student(s) attendance status
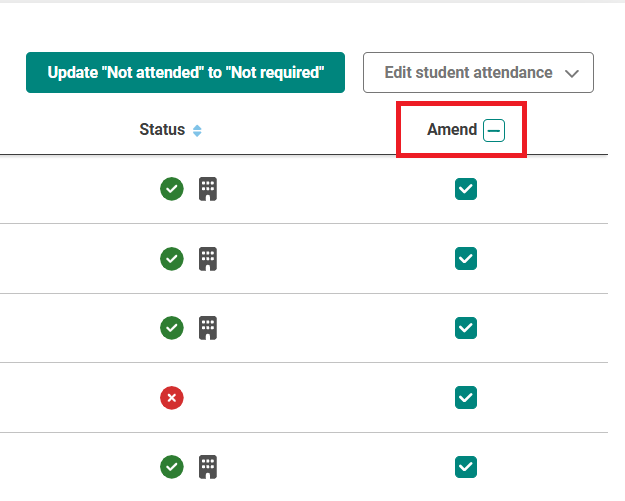
On the Event page, you will see the list of students. There is a column titled ‘Amend’ and each student has a corresponding box against their name.
Below is a list of attendance icons used throughout the product with the corresponding attendance type. As you alter student attendance type on the event register, you will see the attendance icons change.
![]()
Amend multiple students at once
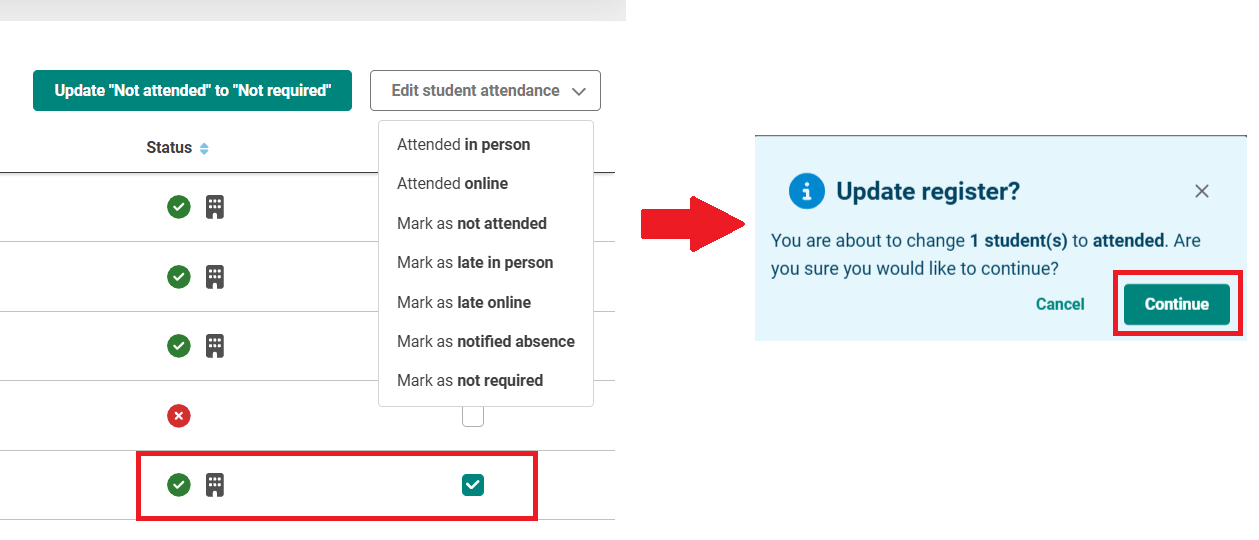
To amend multiple student’s attendance type at once:
- Tick on the box for each student that you want to edit in the Amend column.
- Next, click on the dropdown titled ‘Edit student attendance’.
- You can select the most appropriate attendance type.
Because you are editing multiple student’s attendance, this will alter the attendance type for each student that you selected.
There is also the functionality to amend an entire register without the need to tick each student in your list. To do this:
- Click on the + next to Amend. You will see each student’s corresponding box under the Amend column change.
- To amend all student’s attendance at once, click on the dropdown titled ‘Edit student attendance’.
- You can select the most appropriate attendance type.
Amend an individual student
To amend one student’s attendance type:
- Tick on the box for that student that you want to edit in the Amend column.
- Next, click on the dropdown titled ‘Edit student attendance’.
- You can select the most appropriate attendance type.
2) Add student(s) to a register
If a student is not currently on the event register, the student can add themselves to the register using the Event Code. This will appear on the register with an asterisk (*) by their name. A count of the number of students that were not originally on the register, but have since been added to the register using the Event Code will appear under Attendance total.
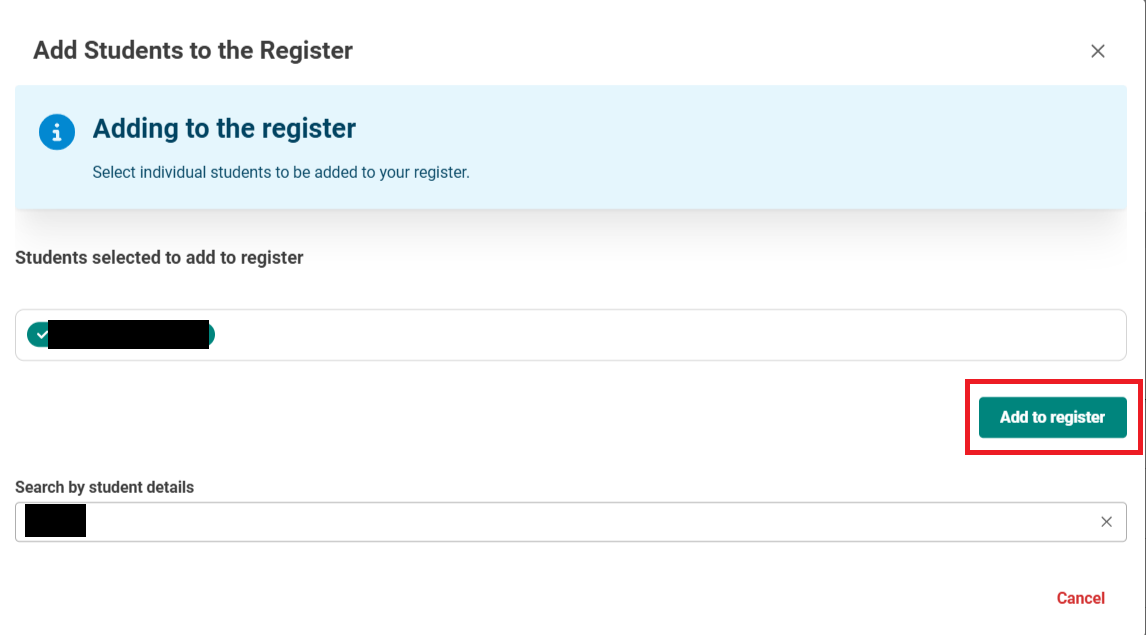
To manually add a student to a register:
- On the event page, you will see a button titled 'Add students to register'.
- Click on this button.
- A pop-up will appear. Within this pop-up, search by student details (i.e., their Student ID).
- Click the student's name. Once you are satisfied, click 'Add to register'.
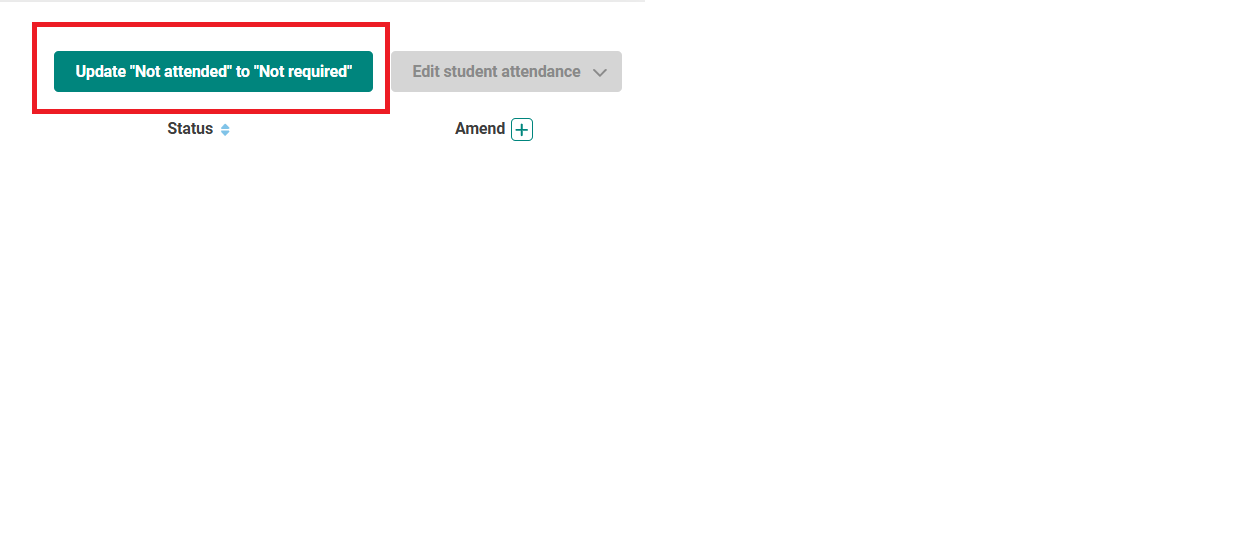
3) Change to Not Required
There might be instances where every student on the register that is currently marked as Not Attended needs to be marked as Not Required.
- On the event page, you will see a button titled 'Update "Not Attended" to "Not required"'.
- Click on this button.
- A pop-up will appear which asks if you want to update the register. Click Continue.
Your register has been updated and every student that was previously marked as 'Not Attended' has been changed to 'Not Required'.
If you do not use a register, every student's attendance status will be automatically changed to Not Required at the end of day.