Groups
On Blackboard Ultra, you can use groups in a variety of ways such as: group assignments, groups discussions, to delegate marking and release certain content to specific groups.
Please note that you need to create a Group Set first, and then you create the Group(s). the functionality will not work until you have created both.
Also note, that where you make work / documents / assignments available depending on what groups students are in, if a student is not in a group, they will not be able to see any assignments.
Creating a Group Set
Step 1. Within a module or organisation site, select Groups on the top navigation bar.
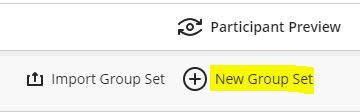
Step 2. Select New Group Set, in the top-right corner. A group set acts as a container for any groups you create. You can have multiple group sets for different purposes or different instructors on the module.
Step 3. You should now give the Group Set a meaningful name.
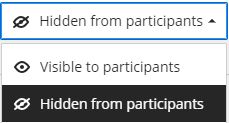
Step 4. You can also choose now or later whether to make the group visible or not to participants in the top-right (the Group Set will need to be visible for you to use the 'message group' option).
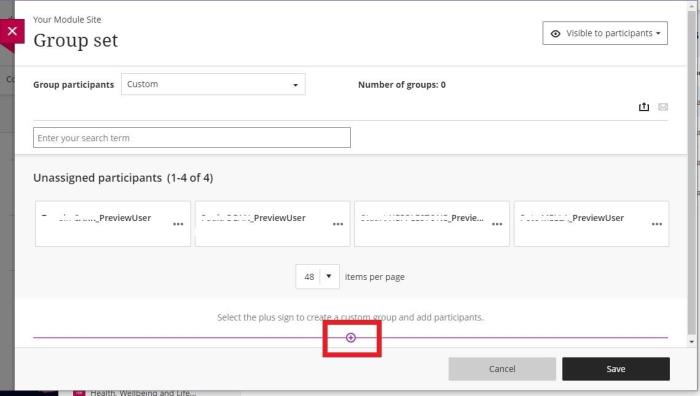
Step 5. You should choose how you wish your groups to be set-up under Group participants the options are:
Custom – you can manually choose the members of the groups
Random Assign – this will automatically populate & create groups randomly.
Self-enrol – students enrol themselves to the groups
Reuse Group – you can edit an existing group set
You can click [Save] in the bottom right here, but please note that you have now created a Group Set, but you have not yet created the Groups.
Creating a group (for Custom Assignment type)
Custom assignment is where you (or other staff) will be selecting which students are in which groups)
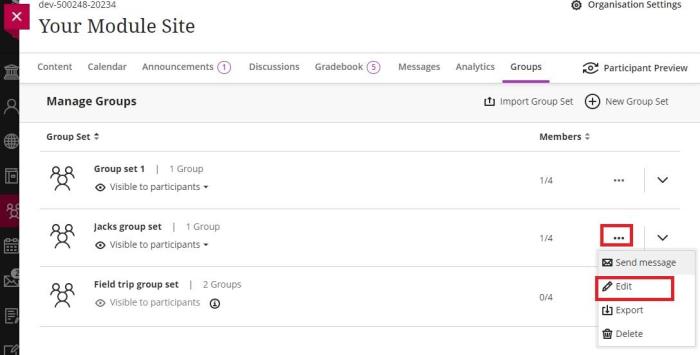
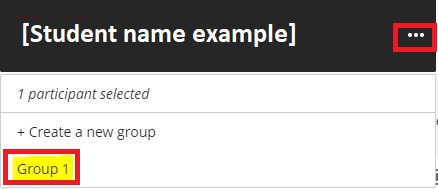
Step 1. Within a Group Set, select the purple plus symbol to create a new Group. (If you have exited edit mode you can get back into the group set by selecting the 3 dots at the end of the group set name, and selecting [Edit]).
Step 2. Give the group a meaningful name and description.
Step 3. You can add more Groups by clicking the [add Group] button shown in the above image.
Step 4. Assign the students to the groups by selecting the clicking the ellipses (three dots) next to the participants name and selecting the desired group from the list that appears.

Step 4.Click [Save] in the bottom right of the screen when you have finished assigning members to groups.
You have now created a Group(s).
You can use groups to assign assign work, markers, or send messages. Please remember that that the Group Set needs to be set to visible for most of these functions to work.
Self-enrol Group Set type
You may want your students to self select which group to join (either because you want to give them a choice, or because it saves you having to assign a large cohort). Below are the steps to set this up, and the steps for the students to complete.
Step 1. Within a module, select Groups on the top navigation bar.
Step 2. Select New Group Set, in the top-right corner.
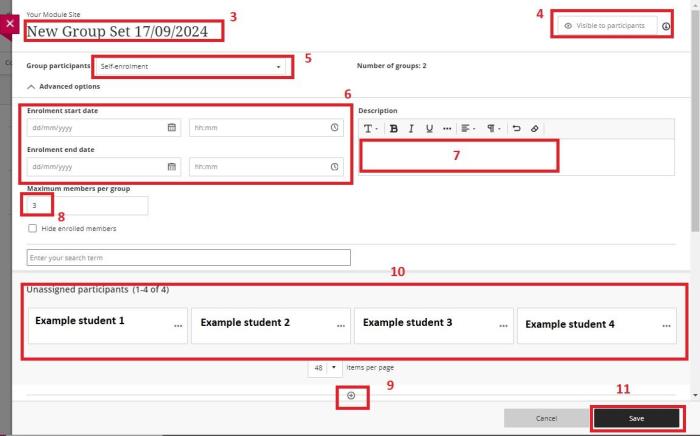
Step 3. You should now give the Group Set a meaningful name.
Step 4. For Self enrol you need to make the Group Set visible.
Step 5. You can now select [Self-enrolment] from the drop down menu at [Group participants].
Step 6. You do not have to set enrolment start and end dates if you don't want to. if you do set a deadline for them to enrol themselves in groups, and a student does not meet the deadline, you will need to manually assign them. Until they are assigned they may not be able to veiw some content if you have set it to release to groups).
Please note that Blackboard automatically creates an site-wide announcement encouraging students to sign up a group, so you may want to either utilise the enrolment start dates to aviod confusing students, or not create the group until you need them to join.
Step 7. For self-enrol groups, it is suggested you included any relevant instructions to the students in the description so that they can chose appropriately.
Step 8. Please check and set [maximum number of members per group] correctly. (i.e. don't leave it set at 3 if you have 50 students and only 5 groups to pick from).
Step 9. At this point you need to create the actual groups. Click the plus sign indicated at bullet 9 in the above image. This creates a new group each time you click it. Name the groups clearly and appropriately.
Step 10. Select the 3 dots next to each students name, a drop down menu will appear that means you can assign this student to the groups you have just created.
Step 11. When you have finished assigning students to groups, click [Save].
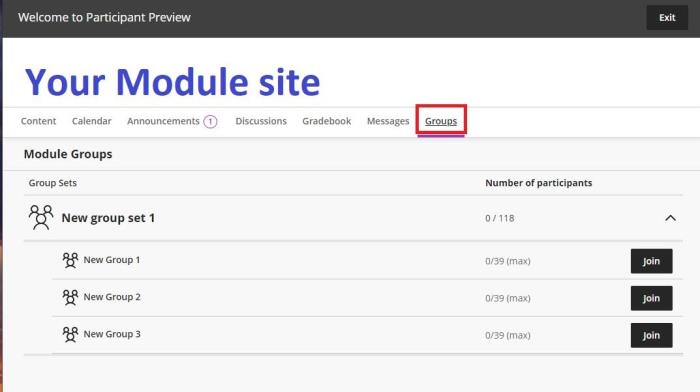
Student View of Self-enrol
Students can find the self-enrol groups by logging in to the module / organisation site, and selecting [Groups] from the top toolbar.
You can also test this by selecting [Student Preview] and selecting [Groups] from the toolbar.
How to edit a group
You don't have to complete building a Group Set or Group all in one go. As long as you click [Save] in the bottom right hand corner, you can come back and edit the Group Set / Group late.
To do that select [Groups] from the top tool bar, then the 3 dots at the far right of the Group Set name, then select [Edit] and that takes you back to the views described above.