This page contains instructions on how to add a PebblePad link into your Blackboard Ultra module site, and create a Workspace in PebblePad ATLAS.
An ATLAS workspace is the assessment area where you will receive PebblePad submissions, and leave feedback and grades on students' works, as well as manage settings and enrolments.
Setting this up via Blackboard will ensure the following:
- All staff and student enrolments will be brought across from the Blackboard site
- Groups set up in Blackboard will be reflected in PebblePad
- Grades (if marked in PebblePad) will return to the Gradebook in Blackboard.
Important note. You will not have the permissions to undertake the following steps unless you have been set up with a 'Creator' role in PebblePad. Please contact the Digital Learning Team to arrange initial training and support.
Creating an ATLAS Link
Step 1. Go into the relevant Blackboard site
Step 2. Expand the folder of the site where you want the PebblePad link to appear
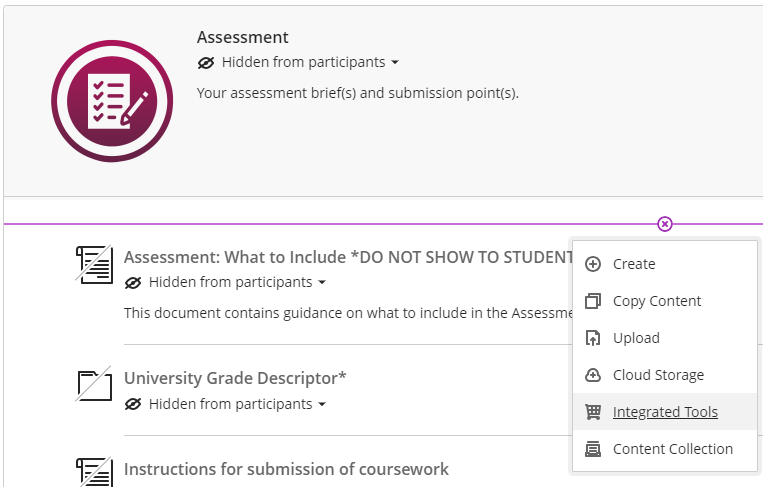
Step 3. Click on the Add content button and select Integrated tools.
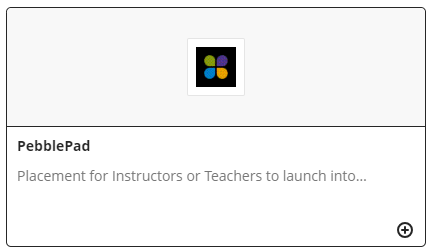
Step 4. A window will pop up, find PebblePad. Click on the small Plus icon.
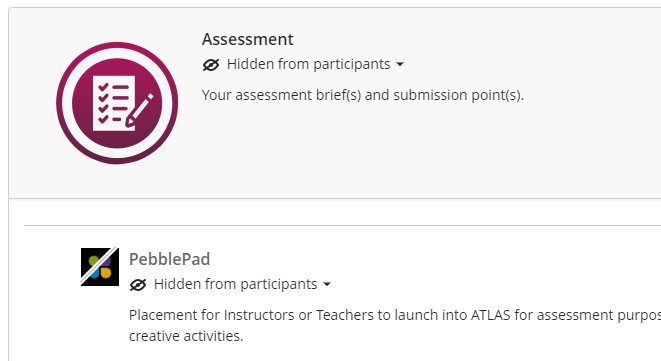
Step 5. Check the link has been created on your module site, it should look like this.
Editing PebblePad link settings in Blackboard
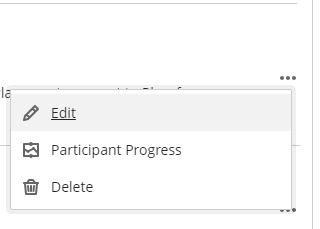
Step 1. Click the (...) icon and choose 'edit'
Step 2. A side window will appear. If Pebblepad is going to be marked, tick the 'Create gradebook entry for this item'.
Step 3. Add the appropriate assignment details
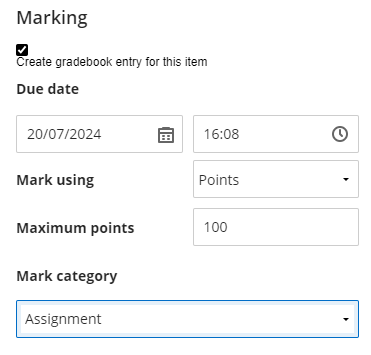
Note: if this is a formative assessment, also tick the appropriate fields in the Formative Tools area.
Step 4. When you are finished, click the save button.
Further support:
PebblePad ATLAS workspace setup